
How to Charge and Operate a Solar Camping Lantern in the Wild
How to Charge and Operate a Solar Camping Lantern in the Wild
Operating dual-power lighting equipment correctly ensures maximum energy efficiency and safety in remote outdoor environments. Follow these steps to optimize your equipment.
Step 1: Pre-Charge via USB Before Departure

Prior to leaving home, connect your lantern to a standard USB power source. Fully charging the internal 1600mAh Li-ion battery establishes a baseline battery runtime of 4-8 hours. The automatic power-off protection prevents overcharging risks.
Step 2: Position the Solar Panel During Daylight
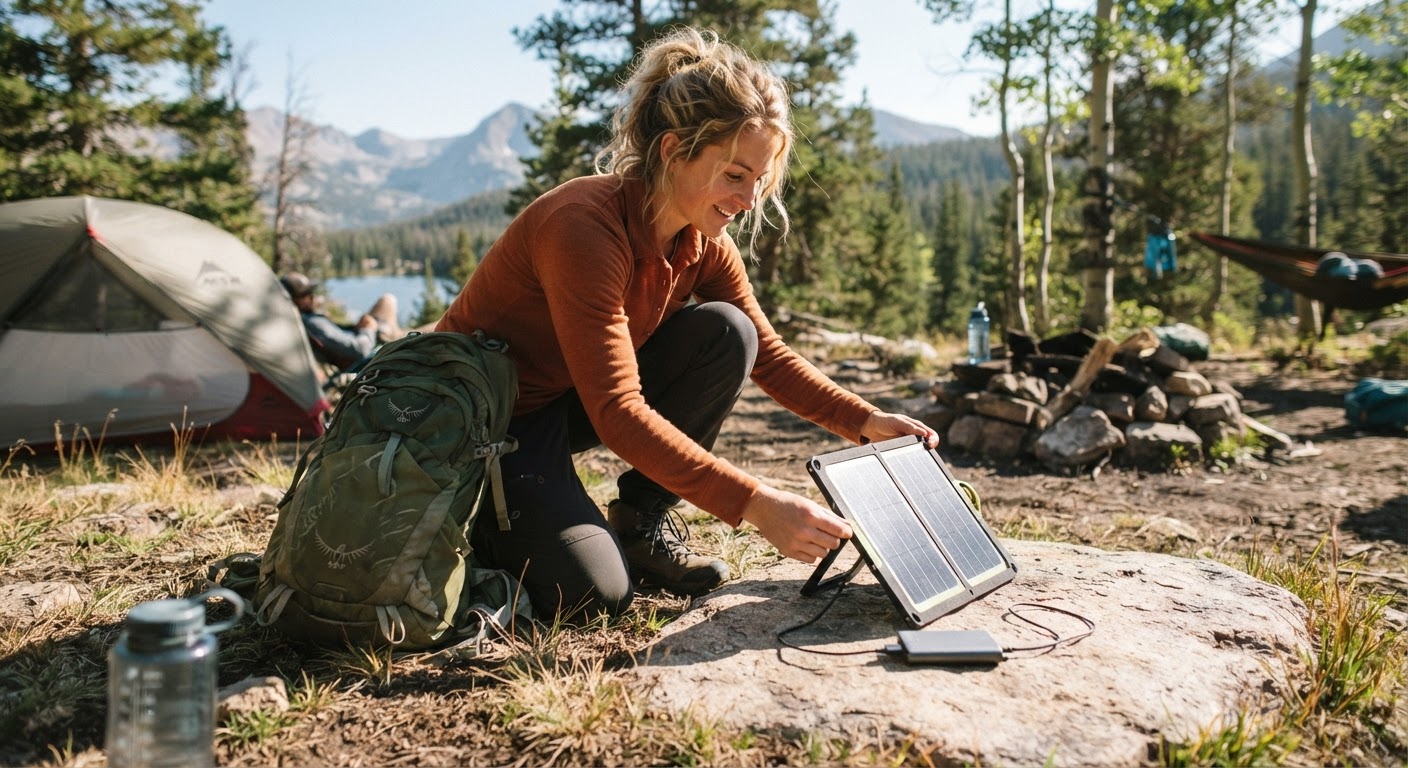
Once at camp, place the top solar panel in direct sun exposure. Achieving a full solar charge takes approximately 8-12 hours of sunlight. Use the folding handles to hang the unit from branches or tent frame loops during peak day hours.
Step 3: Expand the Housing to Adjust Illumination
To activate area lighting, pull up on the handles to expose the 6+1 high-intensity LED chips. You can dial in the precise light output by varying how high you expand the body. At full extension, it delivers 360° lighting coverage.Step 4: Access Flashlight Mode or Emergency Power
Collapse the unit down to smartphone size for handheld directional lighting. In critical situations, connect your smartphone cable to the built-in USB output port to draw power from the lantern.For additional advice on organizing essential camp supplies, consult the main guide.
Read the full guide: Essential Camping Gear for Beginners: The Ultimate Starter Checklist