
Troubleshooting Collapsible Lantern Brightness: How Pull-to-Adjust Mechanisms Work
Is your collapsible LED lantern flickering, sticking halfway, or refusing to change brightness when pulled open? Pull-to-adjust brightness relies on internal copper leaf springs sliding along fixed circuit rails. Light output flickers when contacts accumulate dirt or oxidation, while sticking stems from track friction. Cleaning contacts with 90%+ isopropyl alcohol and applying dry silicone spray restores smooth, multi-chip 360-degree illumination.
Visual Diagnostic Flow: Identifying Pull-Mechanism Faults
- Is the primary symptom physical track resistance or abnormal light output? → Yes: Proceed to Track Resistance Inspection. No: Proceed to Electrical Contact Inspection.
- Track Resistance: Does the outer telescoping housing bind, creak, or refuse to slide open? → Yes: Debris or thermal contraction in tracks. Clean rails with microfiber and apply dry silicone lubricant.. No: Molded mechanical stop tabs are misaligned. Gently twist upper housing to unbind retaining tracks..
- Electrical Contacts: Does the lantern flicker, dim intermittently, or fail to switch between lantern and flashlight modes? → Yes: Dirty or un-tensioned copper wiper contacts. Clean copper traces with 90%+ isopropyl alcohol and gently adjust leaf spring height.. No: Battery depletion or circuit board fault. Fully recharge 1600mAh internal battery via USB or solar panel..
Side-by-Side Failure Mode Diagnostic Matrix

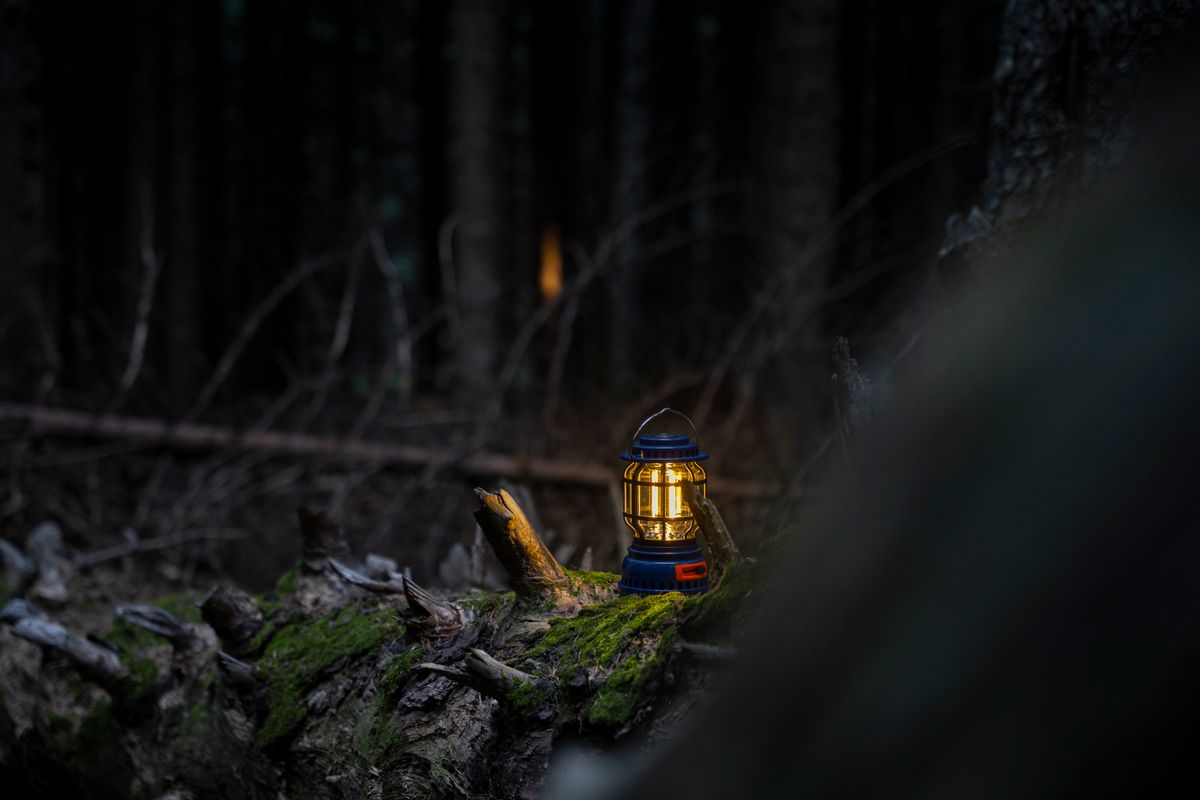
Photo by Ahmed akacha on Pexels
| Failure Mode / Symptom | Internal Mechanical / Electrical Cause | Field Repair Action |
| --- | --- | --- |
| Flickering light when pulling housing upward | Oxidation or dust buildup on internal copper wiper strips interrupting circuit continuity. | Wipe sliding copper contact rails with 90%+ isopropyl alcohol on a cotton swab to remove tarnish and dirt. |
| Lantern remains illuminated when fully collapsed shut | Bent copper leaf spring failing to break contact with the lower circuit trace trigger. | Carefully unclip base cap and slightly depress the copper leaf contact spring using a non-conductive nylon tool. |
| Stiff, jerky sliding motion or housing stuck completely shut | Fine sand, grit, or dirt wedged inside the plastic telescoping guide channels. | Blow out guide tracks with compressed air and apply a thin film of dry PTFE or silicone lubricant. Avoid wet oils. |
| Uneven brightness jumps instead of smooth, progressive dimming | Uneven contact pressure on one side of the dual circuit tracks. | Inspect internal wiper tabs for symmetrical elevation; gently bend lagging contact outward by 0.5mm. |
| Light output cuts out at 100% full height expansion | Upper mechanical stop tab over-traveling past the end of the copper circuit board pad. | Check outer retaining rim for broken alignment tabs; snap internal guide ring back into molded channel. |
Use this side-by-side diagnostic table to match specific failure symptoms directly to their root cause and field-tested mechanical fix.
Expert Field Tip: Restoring Contact Spring Tension Without Bending Strips
When servicing internal telescoping contact circuits, never use steel screwdrivers or pliers directly on the thin copper leaf springs. These flexible wiper strips are made of phosphor bronze or soft beryllium copper alloy designed for low-friction wiping action. Bending them with heavy steel tools can snap the spring base or crease the metal, permanently ruining contact tension.
Instead, use a flat-head wooden toothpick or a non-conductive nylon spudger to gently apply upward pressure under the wiper elbow. A microscopic lift of less than 1 millimeter restores constant spring tension against the sliding circuit board traces without fatiguing the metal.
Technical Blueprint: Anatomy of a Pull-to-Adjust Telescoping Contact Circuit
Understanding how the telescoping body interfaces with internal power rails reveals why pulling the body higher increases light output and exposes the 360-degree LED array.
Step-by-Step Diagnostic Path: Mechanical vs. Electrical Failure
- Does the lantern power on when the top handles are pulled, even for a brief flash? → Yes: Power source and main circuit are functional. Check physical contact track stability next.. No: Battery is fully depleted or main cut-off switch is disconnected. Connect to USB power source for 30 minutes and retest.
- Is light output stable at partial pull-up height but flickers when fully opened to 7.48 inches? → Yes: Top copper contact wiper is losing mechanical pressure at terminal extension. Re-tension upper contact leaf.. No: Sliding contact wipers are dirty along the full track length. Clean entire circuit path with isopropyl alcohol.
- Does pulling the housing require excessive physical force or produce a scraping sound? → Yes: Mechanical guide track contamination. Clean sliding grooves with dry cloth and dry silicone spray.. No: Mechanism is mechanically sound. Verify solar and USB charging circuits are functioning normally.
Reliable Replacement & Emergency Backup: Dual-Powered 2-in-1 LED Camping Lantern
When field repairs cannot restore damaged internal wiper circuits or severe corrosion has eaten through circuit board traces, having a rugged, dual-charging replacement ensures you are never left in the dark during severe weather or wilderness trips.
The 2-in-1 Collapsible LED Camping Lantern is engineered specifically to withstand heavy outdoor use and storm emergencies. Built with an upgraded telescoping housing, it features precision-machined contact wipers that prevent flickering and maintain smooth pull-to-adjust dimming across thousands of extension cycles.
Key Takeaways: Pull-Mechanism Maintenance & Care
- Brightness control is mechanical: Pulling the upper body slides internal copper wiper springs along progressive circuit board tracks to energize LED chips.
- Flickering stems from electrical oxidation: Clean sliding copper traces with 90%+ isopropyl alcohol to maintain constant power delivery.
- Track binding requires dry lubricants: Never apply oil-based lubricants like WD-40; use dry silicone spray to prevent dust accumulation in plastic guide rails.
- Partial height does not waste energy: Battery draw directly corresponds to the number of exposed, active LED chips connected at that extension height.
- Always store fully collapsed: Closing the lantern completely disengages the mechanical contact circuit, preventing parasitic battery drain during storage.
Step-by-Step Guide: Cleaning and Recalibrating Sliding Copper Contacts
Follow these practical, non-destructive field steps to dismantle dirty tracks, clean copper contact strips, and restore smooth brightness adjustment.
Critical Mistakes to Avoid When Repairing Telescoping Lanterns
Avoid these frequent repair errors that can ruin plastic guide channels or permanently snap internal electrical contacts.
Frequently Asked Questions About Pull-to-Adjust Lantern Mechanics
Find fast answers to common operational questions regarding telescoping brightness controls, battery draw, and moisture care.
Immediate Maintenance Actions & Next Steps
Your decision: Determine whether your lantern's brightness failure is fixable via quick contact cleaning or requires gear replacement due to severe circuit board corrosion.
Do this next: Perform a non-destructive contact clean with 90%+ isopropyl alcohol, verify solar and USB recharge status, and test telescoping track tension.
Related resource: Explore our complete online resource guide at https://ledcampinglantern.com for expert outdoor illumination tips and emergency storm prep techniques.
If internal contact strips are snapped or heavily corroded, upgrade your emergency kit with our 2-in-1 Collapsible LED Camping Lantern Pack featuring 360° coverage, dual solar/USB charging, and integrated power bank capabilities.
Now that you understand how pull-to-adjust telescoping circuits work, follow these final steps to verify your light source before your next outdoor trip or storm season.
Related Maintenance & Preparation Guides
Provide internal educational links to complete the user journey.
Cover photo by Atlantic Ambience on Pexels.