How to Hang a Lantern in a Tent Safely & Preserve Battery Life
To hang an LED lantern in a tent, clip a lightweight carabiner through its folding handles directly into the ceiling gear loop. If your tent lacks a ceiling loop, string a tensioned paracord ridgeline between structural corner poles. Pull open the collapsible body to adjust 360-degree ambient brightness while keeping USB ports sealed tight against condensation.
Pre-Hanging Tent Setup Checklist
- Inspect tent ceiling loop stitching for wear, loose threads, or seam stress.
- Check that lantern folding handles are securely seated in side track grooves.
- Confirm micro-USB rubber port plug is sealed tight against interior condensation.
- Verify lantern battery is fully charged via solar top-off or USB prior to dusk.
- Attach a lightweight S-carabiner or non-abrasive paracord loop to the folding handles.
- Test pull-up height extension to set desired lumen output before locking overhead.
Step-by-Step Rigging Techniques for Overhead Tent Illumination
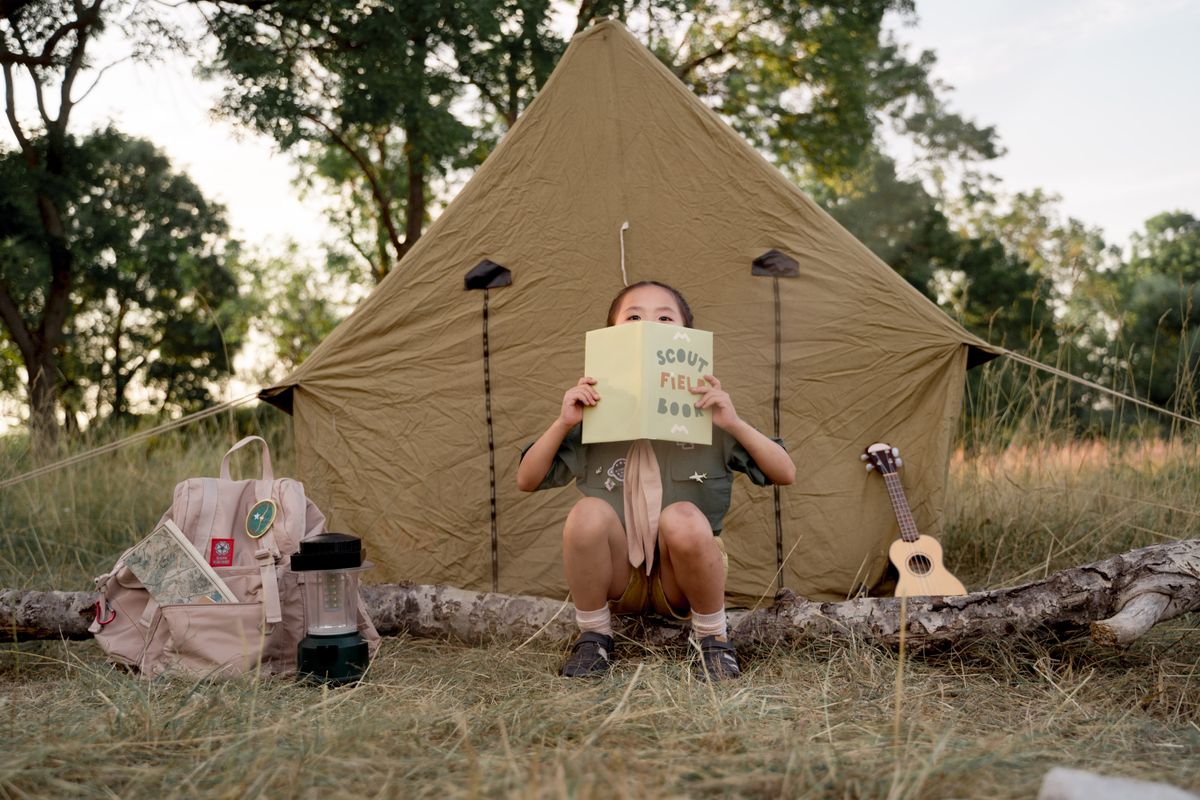
Photo by cottonbro studio on Pexels
Achieving balanced overhead illumination inside a tent without causing fabric strain requires choosing the right rigging method for your shelter's specific hardware.
Method 1: Center Ceiling Loop with Carabiner Clip
Method 2: Internal Paracord Ridgeline (For Tents Without Ceiling Loops)
Method 3: Gear Loft Mesh Suspension
Pro-Tip: Managing Pulley Extension and Light Diffusion
Collapsible LED lanterns offer dynamic brightness control based on mechanical extension height. Pulling the body open completely reveals all 6+1 high-intensity LED chips, casting an intense, wide-angle beam capable of illuminating a large 6-person cabin tent. However, for relaxed evening reading or preserving battery life, pull the lantern up only 30% to 50% of its total height. This partial extension exposes fewer LED rows, creating a warm, ambient glow that prevents peripheral glare while cutting battery drain by up to half. Always ensure the lantern hangs at least 6 inches clear of your tent ceiling fabric to prevent heat buildup and maintain airflow around the battery housing.
Troubleshooting Common Tent Lighting Issues
| Symptom / Issue | Root Cause | Field Solution |
| --- | --- | --- |
| Tent ceiling fabric sags significantly under lantern weight | Lantern suspended directly from unreinforced fabric or using heavy steel hardware | Relocate lantern to a paracord ridgeline anchored directly to corner structural poles; switch to a lightweight S-carabiner. |
| Light flickers or dims unexpectedly overhead | Low battery voltage or poor connection caused by partial handle engagement | Verify folding handles are fully clicked into their vertical track locking notches; recharge lantern via USB or solar panel. |
| Moisture accumulation inside micro-USB port | Interior tent condensation collecting near apex loop and dripping into open rubber cap | Fully press the rubber dust cap into place; hang lantern with USB output port facing downward away from ceiling drips. |
| Collapsible body stuck or stiff when adjusting height | Dust, sand, or dried tree sap lodged in side guide tracks | Clean side tracks with a dry microfiber cloth; apply light lateral pressure while pulling upward to safely clear the guide channel. |
Resolve overhead installation and power management issues in the field using these diagnostic steps.
Key Takeaways for Safe Overhead Illumination
- Clip securely: Always use dual folding handles anchored to central loops or paracord lines rather than hanging from thin tent mesh.
- Control lumens mechanically: Slide the collapsible housing up or down to dial in exact brightness and stretch battery runtime.
- Protect electrical ports: Keep rubber USB covers sealed tight to prevent ambient nighttime condensation from causing short circuits.
- Harness dual charging: Top off the 1600mAh battery via outdoor solar exposure during the day to save power bank energy for night walks.
Recommended Gear: Dual-Handle Collapsible LED Camping Lantern
Upgrade your campsite illumination with the ultimate dual-charging collapsible lantern pack. Featuring 6+1 high-intensity LED chips, solar and USB charging, and an emergency phone power bank, this lightweight lantern fits perfectly in any tent.
Side-by-Side Comparison: Overhead Rigging Methods
| Rigging Method | Weight Capacity | Setup Time | Beam Spread & Coverage | Best Tent Compatibility |
| --- | --- | --- | --- | --- |
| Center Loop Carabiner | Up to 3.0 lbs | < 1 Minute | Complete 360° floor-to-wall light dispersion | Standard 2-4 Person Dome Tents with Apex Loop |
| Paracord Ridgeline | Up to 10.0 lbs | 3 - 5 Minutes | Customizable position along central axis | Backcountry / Ultralight Tents lacking ceiling hardware |
| Gear Loft Decking | Up to 2.5 lbs | 1 - 2 Minutes | Softened, diffused ambient downward light | Family / Cabin Tents with high ceiling mesh lofts |
Compare the three standard methods for mounting a lantern inside a tent to choose the right setup for your shelter.
Visual Diagram: 3 Core Methods for Overhead Tent Lantern Rigging
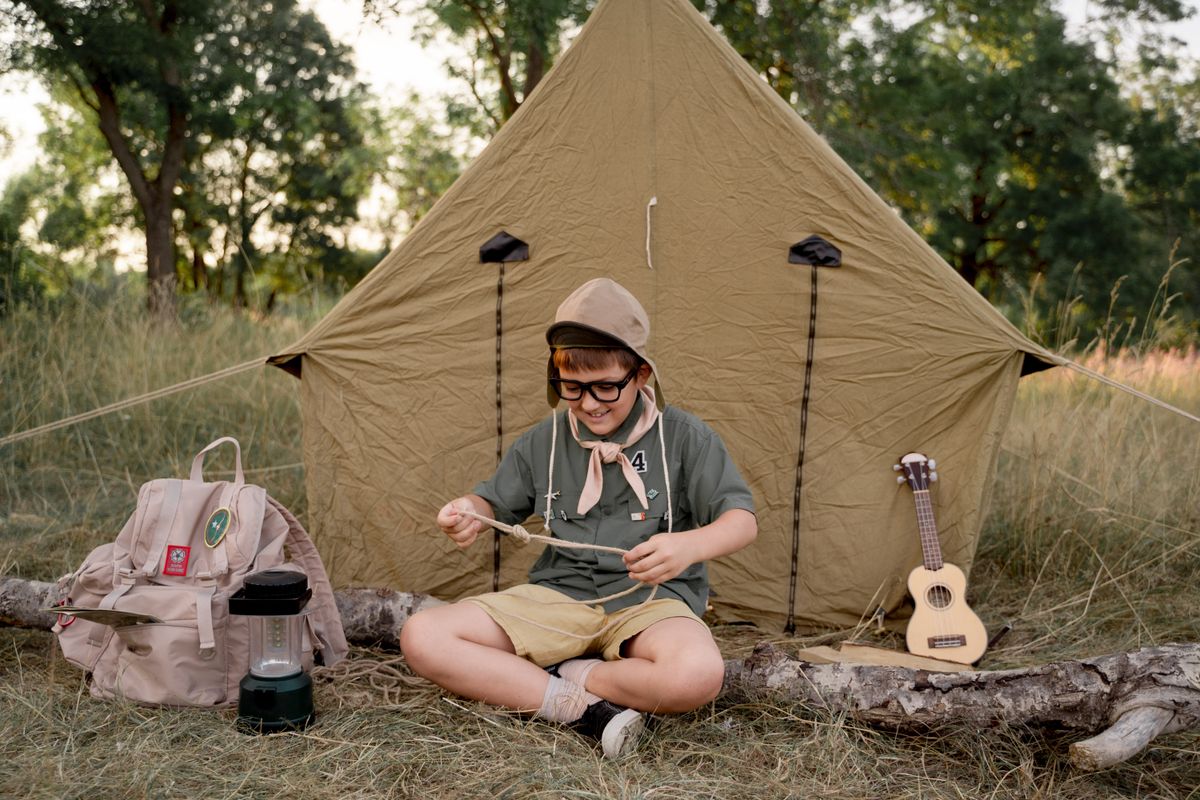
Photo by cottonbro studio on Pexels
Refer to this diagram specification when selecting your overhead anchor points inside the tent.
Critical Mistakes That Damage Tent Fabric & Lantern Batteries
Avoid these four common operational blunders to protect your tent canopy and ensure long-term lantern performance.
Battery Health & Maintenance Schedule for Multi-Day Trips
- Morning (08:00 - 10:00) — Unclip lantern from tent ceiling. Inspect rubber USB port seal for moisture, wipe down body with a dry cloth, and place outdoors in direct sunlight for solar panel topping off.
- Midday (12:00 - 14:00) — Check solar panel orientation toward the sun. If needed, connect USB power bank for fast charging to reach 100% capacity before afternoon trail activities.
- Dusk (18:00 - 19:30) — Retrieve lantern from sunlight. Verify dual wire folding handles click securely into place, set lantern to partial pull-up extension, and clip into tent ceiling gear loop.
- Night (22:00 - 06:00) — Collapse lantern down to 10% pull height or switch off main 360° array to preserve battery power overnight; ensure USB port remains capped tight against condensation.
Frequently Asked Questions About Hanging Tent Lanterns
How do I prevent condensation from damaging charging ports while hanging the lantern inside a damp tent?
Tent moisture naturally collects near the apex canopy. To protect your lantern, ensure the rubber micro-USB cap is pressed fully flush into the housing before hanging. Position the lantern so the port faces downward away from ceiling drips, and avoid hanging the unit directly touching wet tent fabric walls.Can I use the solar panel to recharge the lantern through a clear tent window or rainfly?
No. Tent plastic windows and polyester rainflies block UV wavelengths required for efficient photovoltaic conversion. For optimal charging, place the lantern outdoors in direct, unfiltered sunlight during daylight hours.How do I troubleshoot stiff or stuck folding handles when hanging the lantern?
Stiff or stuck handles are usually caused by dirt, sand, or tree sap in the side guide channels. Inspect the track grooves, clean them with a damp microfiber cloth, and apply light lateral outward pressure while pulling upward to smoothly release the hinge without snapping plastic joints.Post-Setup Action Plan & Immediate Recommendations
Your decision: Determine your tent's ceiling hardware and choose between central loop clipping, paracord ridgeline rigging, or gear loft placement.
Do this next: Inspect tent ceiling seams, adjust lantern pull-up height for desired ambient lumens, and ensure rubber USB port covers are closed tight.
- Read next: How to Maintain and Power Your Dual Charging LED Lantern on Multi-Day Hikes
- Read next: Solar vs. USB Rechargeable Camping Lanterns: Which Power Source Belongs in Your Pack?
Equip your shelter with the multi-pack Dual-Handle Collapsible LED Solar & USB Camping Lantern for complete 360° overhead coverage.
Now that you know how to safely suspend overhead lighting and maintain battery health, complete your campsite setup.
Related Resources & Next Steps
Direct users to additional guides within the content cluster and pillar.
Cover photo by Tima Miroshnichenko on Pexels.