How to Set Up Emergency Lighting for Camp Night Safety
When darkness falls during an emergency situation, disorientation becomes a major threat. Establishing a structured lighting plan keeps your camp safe and manageable. Follow these steps to build an efficient illumination system.
Step 1: Assess Nighttime Visibility Hazards around Camp
Identify potential tripping risks, fire pit boundaries, and tent guy-lines. Determine central areas where wide 360° coverage is necessary versus directional task light needs.
Step 2: Deploy Multi-Functional Area Lighting

Photo by Julia Filirovska on Pexels
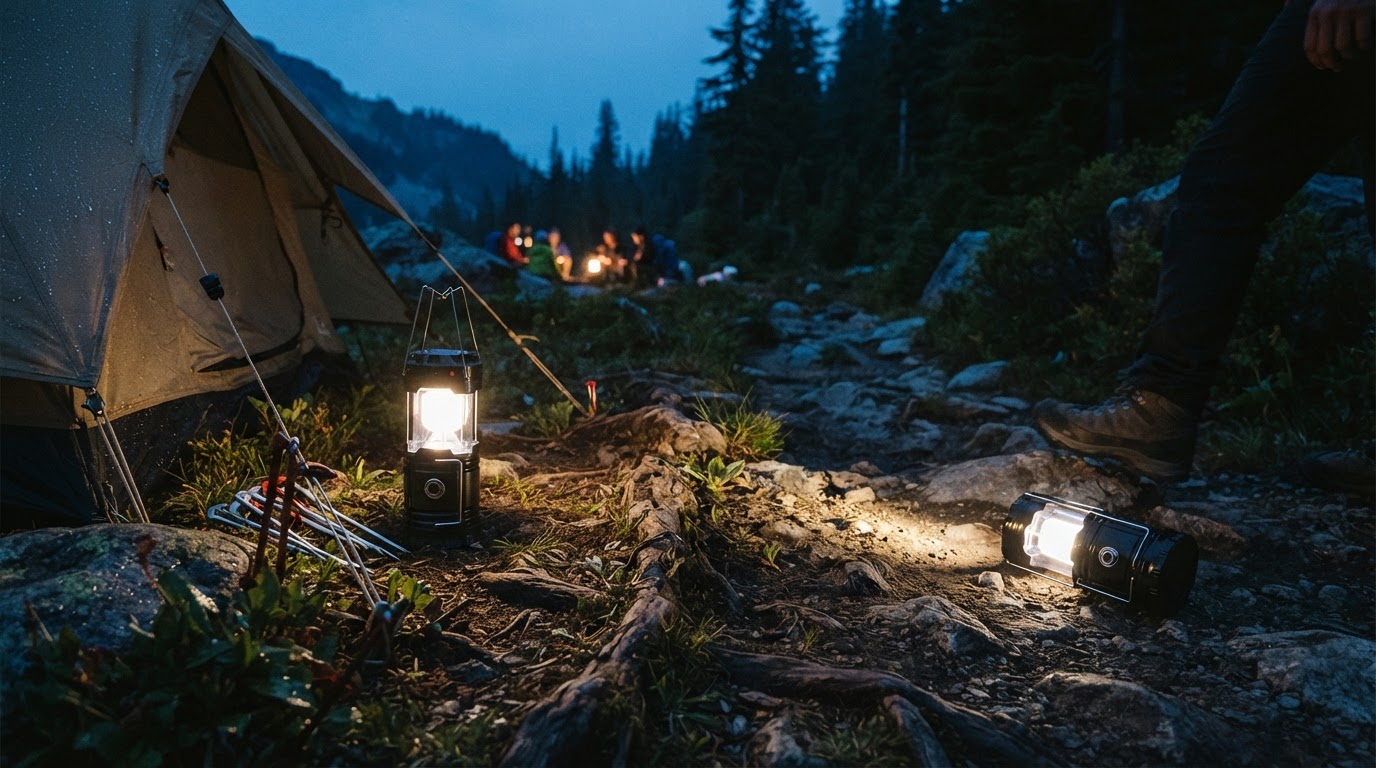
Set up reliable light fixtures that offer flexible deployment. The Led Camping Lantern operates as both a 360° wide lantern and a focused flashlight. Pulling up the lantern body allows instant brightness adjustments. Use its folding handle to hang it on tent poles or nearby tree branches to keep your hands free. For complete gear packing details, consult [the main guide].
Step 3: Establish Continuous Dual-Charging Routines
Ensure your primary lights never run out of power. Utilize solar charging during daylight hours by exposing the built-in solar panels on the lantern to direct sunlight. When external power or generator power is present, top off its built-in 1600mAh Li-ion battery using USB charging. Integrated automatic power-off protection guarantees safety against overcharging.Step 4: Keep Light and Power Sources Centralized

Photo by Zeal Creative Studios on Pexels
Keep emergency lighting within immediate reach. Because the Led Camping Lantern collapses down to 3.07 inches long by 3.07 inches high by 5.12 inches—a size similar to a mobile phone—it can be stored in small side pockets or child-accessible packs. Its built-in USB output port also provides emergency power bank charging for Android devices, serving as a dual light and power safety station.
Read the full guide: Complete Camping Emergency Kit Checklist: Essential Gear for Outdoor Safety