Home Blackout Protocol FAQ: Where and How to Stage Emergency Lanterns Before Storms
When a severe weather alert strikes and high winds threaten the local electrical grid, scrambling in the dark for misplaced flashlights creates immediate trip hazards and panic.
Direct Protocol: Stage emergency lanterns 5 to 7 feet high in primary transit zones (stairwells, hallways, kitchens) near reflective surfaces. Position expanded lanterns on nightstands and beside electrical breaker panels prior to storm landfall. Keep collapsible units pulled partially open for soft ambient light or fully expanded for 360° room illumination.
Room-by-Room Staging Allocation & Pack Selection
Staging strategy depends on home square footage, number of levels, and resident age/mobility. Multi-pack collapsible LED lanterns offer the highest versatility by serving as high-hung area ambient lights or unclipped manual flashlights.
Best choice for
- 4-Pack or 8-Pack Collapsible Solar/USB Lanterns — Allows dedicated staging at top/bottom stair landings (5-7 ft high), main breaker panel, kitchen, and every occupied bedroom.
- 2-Pack Dual-Charging LED Lanterns — Provides full coverage for central living area and primary hallway while serving as an emergency USB power bank.
- Staging lanterns at floor level where furniture casts long dark shadows across walking paths.
- Storing emergency lights inside high, locked cabinets that require climbing or searching in pitch blackness.
- Fixed Emergency Plug-in Wall Lights — Automatically turn on during outages, but lack portability, adjustable brightness, solar recharging, and USB power bank capabilities during multi-day grid collapses.
Visual Staging Blueprints: Placement Heights & Light Dispersion
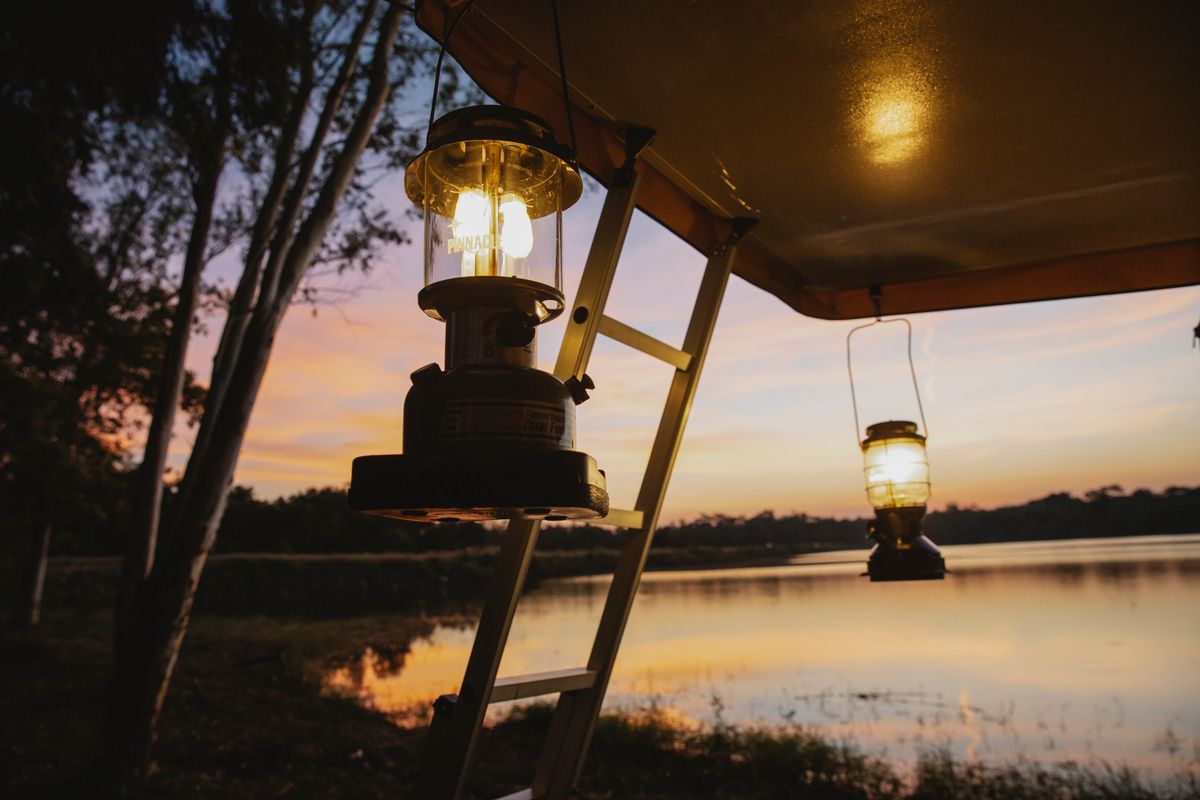
Photo by Uriel Mont on Pexels
Proper spatial installation ensures that emergency lighting illuminates floors and walkways without blinding occupants.
Pro Tip: Leveraging Bounce Lighting and Reflective Surfaces
In emergency conditions, direct eye-level light creates severe glare and harsh shadows. To maximize visibility across an entire room, mount your lantern 6 feet high on a wall adjacent to light-colored drywall or hang it near a bathroom mirror. The 6+1 high-intensity LED array bounces bright light off vertical surfaces, converting a single point light into a soft, room-filling ambient glow that casts minimal shadows on floor hazards.
Immediate Action Plan: Pre-Storm Staging Sequence
Your decision: Determine your household staging requirements based on floorplan complexity and resident count.
Do this next: Fully charge multi-pack collapsible solar/USB lanterns via USB input, conduct a dark-room staging dry run, and hang units at recommended 5-7 ft heights prior to storm warnings.
- Read next: How to Inspect, Charge, and Troubleshoot Emergency Solar Lanterns Before Storm Season
- Read next: How to Prepare Your Home Lighting Strategy for Severe Storms and Hurricane Blackouts
Equip your home with the 4-Pack Collapsible Solar & USB Rechargeable LED Camping Lanterns for complete room-by-room coverage.
Follow this deployment sequence 24 hours before anticipated severe weather or winter storm warnings arrive.
Core Principles of Pre-Blackout Lighting Placement
Keep these fundamental lighting rules in mind when preparing your residence for power failure:
Essential Gear: Multi-Pack Collapsible Solar/USB Emergency Lanterns
To execute a comprehensive home staging plan, you need lighting hardware designed specifically for rapid emergency deployment and dual-power survival.
Pre-Hurricane & Storm Season Staging Verification Checklist
Photo by Maximilian Oeverhaus on Pexels
- Verify all Li-ion batteries are 100% charged via USB wall outlet before grid failure.
- Test solar top-up panels by placing lanterns under direct bright sunlight or daylight window sill.
- Check collapsible pull tracks to ensure smooth vertical expansion and brightness adjustment.
- Mount main stairwell lanterns at 5-7 feet on wall hooks using folding metal handles.
- Place one collapsed unit on every bedside table for immediate spotlight navigation.
- Stage one fully charged unit directly adjacent to the main home electrical breaker box.
- Confirm built-in USB power bank output ports are clear and emergency phone charging cables are attached.
Critical Staging Errors That Cause Blackout Hazards
Avoid these frequent mistakes homeowners make when deploying emergency lighting before grid failure:
Frequently Asked Questions: Blackout Staging & Emergency Deployment
Detailed answers to common technical and tactical questions regarding solar and USB emergency lantern usage.
Related Emergency Preparedness & Staging Resources
Expand your disaster readiness strategy with our expert guides on battery storage, solar maintenance, and severe weather emergency planning:
- How to Inspect, Charge, and Troubleshoot Emergency Solar Lanterns Before Storm Season
- How to Prepare Your Home Lighting Strategy for Severe Storms and Hurricane Blackouts
- Vehicle Emergency Lantern Storage: Solar vs Battery Operating Protocols
- Safe Candle-Free Emergency Lighting: How to Illuminate Your Home During Grid Failure
Final Execution Plan: Secure Your Household Emergency Lighting
Your decision: Determine your household staging requirements based on floorplan complexity and resident count.
Do this next: Fully charge multi-pack collapsible solar/USB lanterns via USB input, conduct a dark-room staging dry run, and hang units at recommended 5-7 ft heights prior to storm warnings.
- Read next: How to Inspect, Charge, and Troubleshoot Emergency Solar Lanterns Before Storm Season
- Read next: How to Prepare Your Home Lighting Strategy for Severe Storms and Hurricane Blackouts
Equip your home with the 4-Pack Collapsible Solar & USB Rechargeable LED Camping Lanterns for complete room-by-room coverage.
Don't wait for the power grid to collapse to discover where your emergency lights are stored.