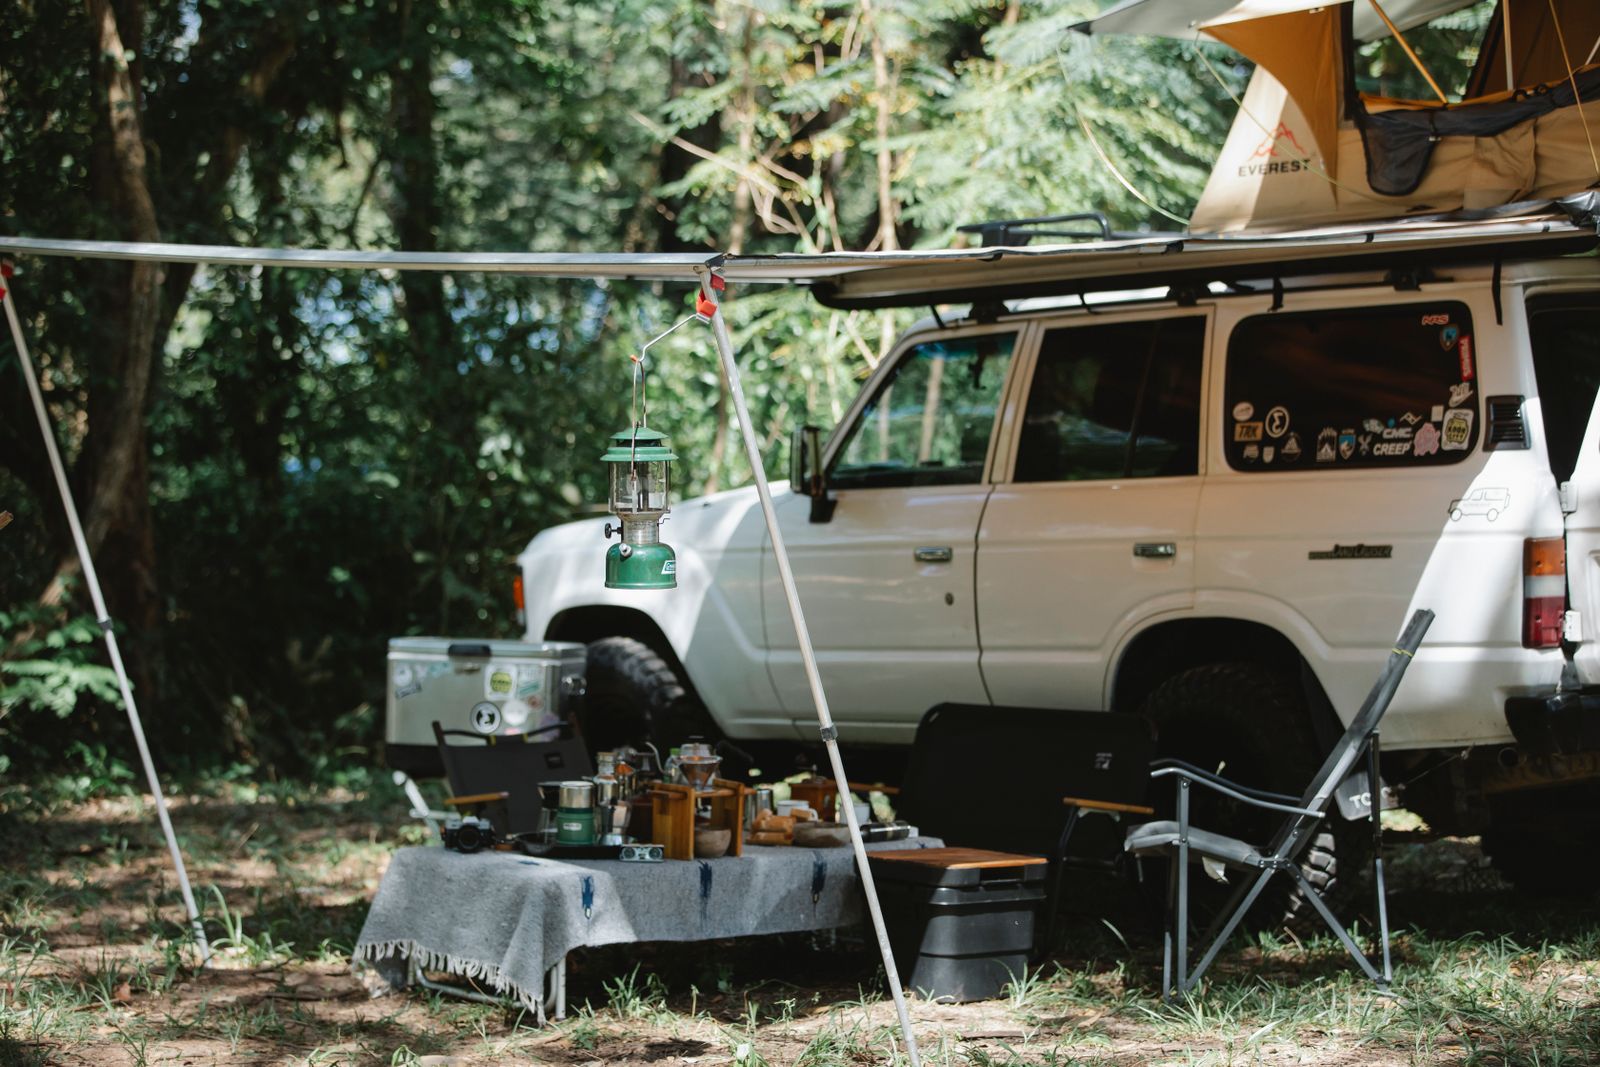
How to Hang a Lantern in a Tent & Campsite for Maximum Visibility
To hang a lantern in a tent safely, anchor it to the center ceiling gear loop using an S-biner or prusik loop at 6.5–7 feet high. Adjust a collapsible 360° LED lantern to 30–50% open height to prevent blinding glare while filling the space with shadow-free ambient light.
Pre-Hanging Campsite & Tent Lighting Checklist
- Inspect tent ceiling gear loop or fabric seam for signs of fraying or stress.
- Ensure lantern weight is under 1.0 lb (collapsible models average ~0.6 lbs).
- Attach a locking S-biner or lightweight carabiner to the lantern's folding metal handles.
- Check battery level or solar charge status before hoisting.
- Test pull-to-adjust dimming mechanism to verify target brightness inside the tent.
Step-by-Step: Hanging & Positioning Lanterns for Optimal Coverage
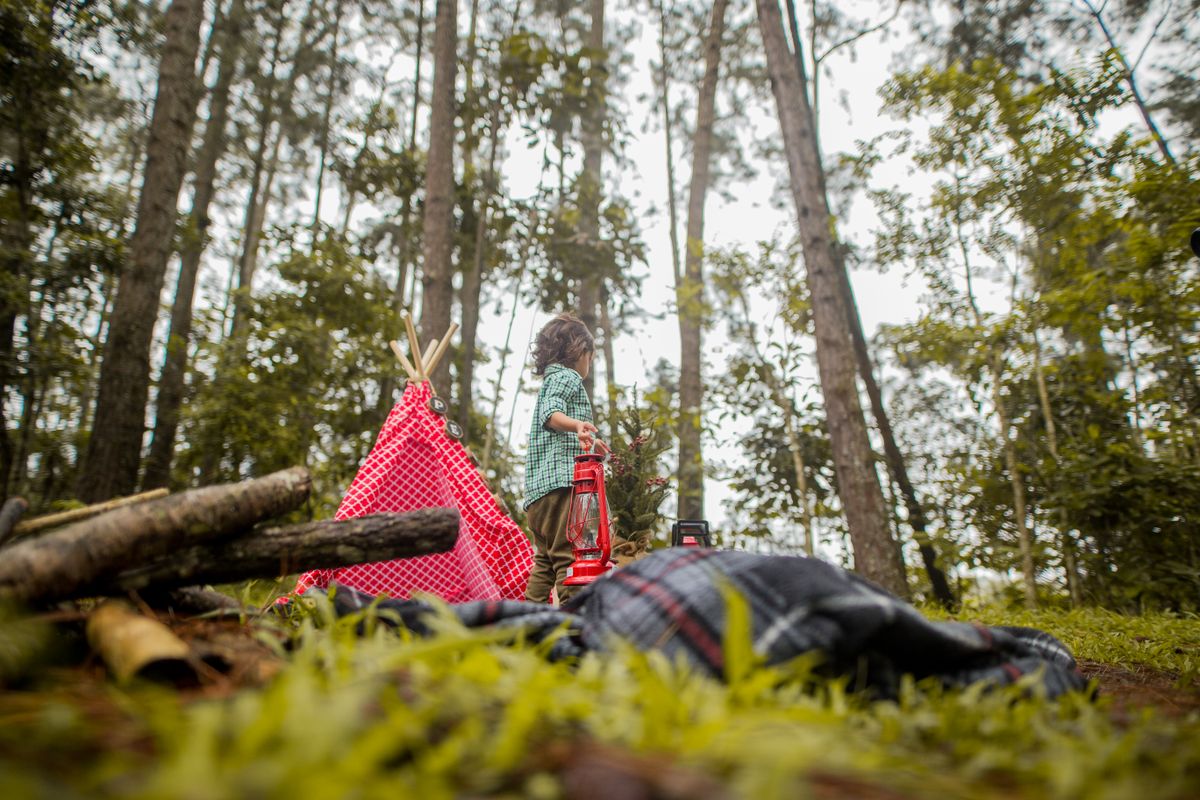
Photo by Caleb Oquendo on Pexels
Follow these practical steps to elevate, anchor, and adjust your light sources across both tent interiors and outdoor camp zones.
Step 1: Identify and Inspect Your Upper Anchor Point
Inside a tent, locate the central ceiling gear loop or apex gear loft loop. Inspect the stitching closely to verify that the seam is reinforced and capable of holding overhead weight without tearing fragile nylon fabric.Step 2: Connect via S-Biner or Friction Hitch
Pass a lightweight aluminum S-biner through the lantern's folding metal handles. Clip the secondary hook onto the ceiling loop. If you are hanging a lantern along an outdoor guyline or paracord ridge line between trees, tie a Prusik friction knot or taut-line hitch to hold the light firmly in place without sliding.Step 3: Calibrate Vertical Clearance and Height
Position the lantern so the bottom base sits approximately 6.5 to 7 feet above the floor (or at least 12 inches above head level when seated). This elevation casts a broad downward beam cone across wall surfaces while keeping the bright LED chips above direct line-of-sight.Step 4: Fine-Tune Aperture and Brightness Levels
For collapsible 360-degree LED models, adjust light output by pushing or pulling the lantern body. Inside a small sleeping tent, pull the lantern open only 30% to 50% to expose part of the 6+1 LED chip array for soft, indirect glow. For full outdoor picnic tables, extend the lantern fully up to illuminate the entire zone.Pro Tip: Preventing Bug Swarms and Eliminating Eye Glare
Never position your primary high-lumen light source directly above or inside your tent entryway. Flying insects instinctively navigate toward the highest point of light contrast. Set up a bright 360-degree lantern 20 to 25 feet away from your tent as a 'perimeter bug lure.' Inside the tent, keep your collapsible lantern partially closed to dim output, exposing only enough LED coverage for interior tasks while keeping the door mesh fully zipped.
Key Takeaways for Tent and Campsite Illumination
- Overhead Placement Eliminates Shadows: Suspending lanterns from top gear loops projects light outward and downward, preventing harsh floor shadows.
- Physical Aperture Control Prevents Blinding Glare: Using pull-to-adjust collapsible lanterns allows instant manual dimming without cycling through complex button modes.
- Keep Weight Under 1.0 lb: Heavy glass or metal lanterns tear tent ceiling seams; ultra-lightweight 0.6 lb collapsible units protect your tent canopy.
- Dual-Zone Lighting Keeps Bugs Away: Position a bright perimeter lantern away from sleeping quarters to draw moths and mosquitoes off your tent door.
Choosing the Right Hanging Method for Your Tent Architecture
Selecting the best hanging technique depends on your tent structural design, headroom, and whether you are lighting an interior sleeping area or an exterior communal kitchen.
Best choice for
- Lightweight S-Biner on Ceiling Gear Loop — Provides 360-degree top-down ambient illumination that casts minimal shadows along sidewalls.
- Paracord Ridge-Line with Prusik Loop — Distributes lantern weight across main pole sleeves without putting stress on thin fabric seams.
- Tree-Branch Suspension at 7-8 Feet — Keeps light above line-of-sight to prevent glare and pulls insects away from food prep areas.
- Hanging heavy battery lanterns exceeding 1.5 lbs directly from unreinforced mesh gear lofts
- Positioning a 360-degree unshielded lantern directly at eye level (4-5 feet) near seating areas
- Collapsible Pull-to-Adjust LED Lantern — Allows precise physical dimming inside small tent spaces by exposing only a portion of the 6+1 LED globe.
- Headlamp wrapped around water jug — Emergency backup option when no overhead hanging loops or lanterns are available.
Recommended Gear: 360° Collapsible LED Lantern Pack
Having a dependable, lightweight light source makes suspending overhead lights quick and worry-free. The Led Camping Lantern (Pack) provides complete 360° room-filling light engineered specifically for campsite adaptability.
Side-by-Side: Campsite Lighting Zones & Mounting Height Rules
| Campsite Zone | Ideal Height | Recommended Lumens | Best Mounting Method | Key Benefit |
| --- | --- | --- | --- | --- |
| Tent Interior Ceiling | 6.5 – 7.0 ft | 50 – 150 lm (30-50% open) | S-Biner to Center Gear Loop | Eliminates sleeping bag shadows; soft anti-glare fill |
| Camp Kitchen / Table | 7.0 – 8.0 ft | 200 – 350 lm (100% open) | Branch / Tripod Paracord Line | Keeps direct glare out of eyes while prepping food |
| Perimeter Bug Lure | 6.0 – 7.0 ft (20+ ft away) | 300+ lm (100% open) | Shepherd Hook / Tree Hook | Draws swarming insects away from living and sleeping quarters |
| Latrine / Trail Entry | 3.0 – 4.0 ft | 100 – 200 lm (Flashlight mode) | Handheld or Low Stake Mount | Provides ground-level contrast for hazard identification |
Organize your lighting setup across different zones of your campsite using these mounting height and brightness guidelines.
Visual Map: Tent & Campsite Lighting Zone Layout
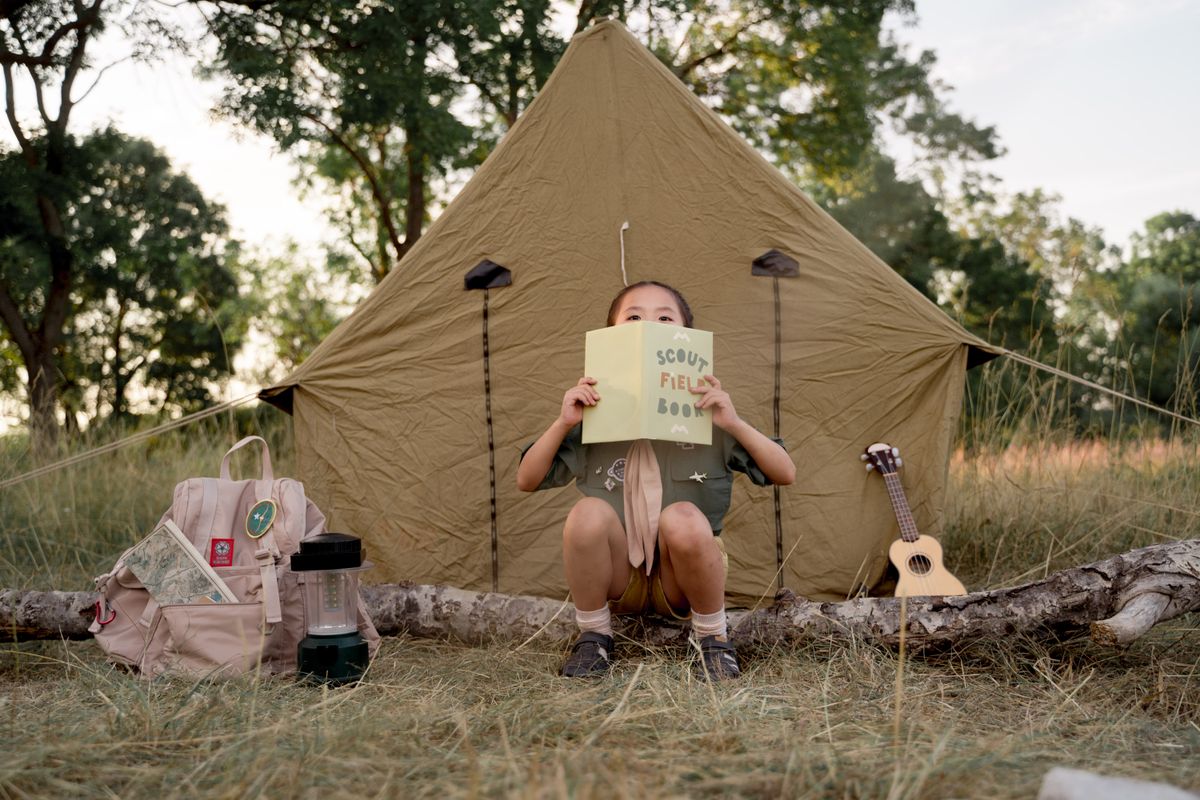
Photo by cottonbro studio on Pexels
Review the layout diagram below to plan safe hanging distances and heights before setting up camp after dark.
5 Critical Mistakes to Avoid When Hanging Lanterns Overhead
Avoid these frequent mistakes that lead to torn tent gear, blinding glare, or bug swarms.
Dusk-to-Dawn Campsite Lighting Timeline
- Sunset (Dusk) — Hang full 360° bright lantern over main camp kitchen/table at 7.5 feet; deploy solar charging panels for final twilight top-off.
- 1 Hour After Dark — Activate perimeter bug-lure lantern 20 feet from sleeping tents to redirect night-flying insects.
- Tent Entry / Bedtime Setup — Switch outdoor overhead lights off; anchor interior tent lantern to ceiling loop and collapse to 30% brightness.
- Overnight Sleep — Collapse interior lantern completely into flashlight mode or powering down; maintain low-lumen USB emergency power bank readiness.
Frequently Asked Questions About Tent Lantern Hanging
Find fast answers to common queries regarding gear loops, insect management, and brightness controls.
Recommended Next Actions & Gear Setup Routine
Your decision: Determine your tent's ceiling weight capacity and select an S-biner or paracord ridge-line setup.
Do this next: Pack a lightweight collapsible 360° LED lantern with built-in folding handles and S-biners in your top lid pocket.
- Read next: Compare lanterns vs. headlamps for optimal setup ergonomics
- Read next: Learn how pull-to-adjust mechanisms troubleshoot glare
Led Camping Lantern (Pack) - 360° Collapsible Solar/USB Rechargeable Light
Equip your campsite with proper overhead suspension gear and reliable lighting solutions today.
Related Guides & Campsite Lighting Resources
Provide internal links to relevant cluster guides for further reading.
Cover photo by Uriel Mont on Pexels.